Dave undertakes a 4.5 mile circular route from Deadman Hill (located on the B3078 between Godshill & Bramshaw in the North of the New Forest).
I start off my walk in Cunninger Bottom and follow the course of a dried up stream up through the valley towards Turf Hill, ending up at the Golden Cross (any ancient crossing point of tracks) & Jacobs Barrow. I then head West, exploring the site of the Millersford Armaments Centre – a secret set up to test the effectiveness of explosives in WW2. Although nothing remains of the buildings, the shell craters are still there.
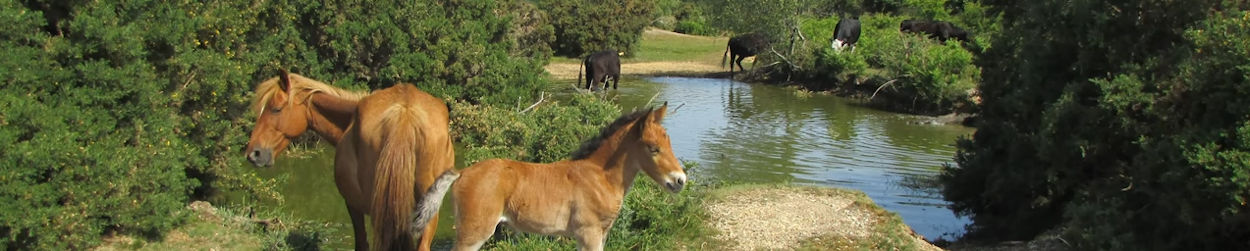
I walk back through Turf Hill Inclosure & Millersford Plantation (discovering a huge ants nest) before crossing in to Hale Purlieu where I come across a mare & foal. Finally, I head back along the outskirts of Hale village, stumbling across a pony pound, before a short rest at Millers Ford which is close to my original starting point.
The origin of the name “Deadman Hill” isn’t certain. It might have a connection with a nearby gallows (as I mention in the video) however “Deadman” is also a Romany name and the area was once a Gypsy Camp (as I also point out in the video) in days of old.
Towards the end of my walk, I came across a brick rectangular construction and wasn’t too sure what it was used for. I am grateful to Steve Morris who kindly provided me with further information by way of an email (see below):
“Hi Dave, I’ve asked around and been in touch with one of the family that ran Warren Farm from 1940-1970 and also got the views of a neighbour from about the same time. It was indeed a stand for milk churns and the small trough at the side is the remains of a single step used by the driver to manoeuvre the churns on and off his lorry. The step was originally a little higher with a paving slab or slate top. The lip at the back used to go right across the platform. The stand held about 4 churns, each holding 10 gallons and weighing 100lbs. At that time, Warren Farm kept Guernsey dairy cows and also had Welsh pigs. Thanks, Steve”
Map courtesy of Google Maps. With grateful acknowledgement to Anthony Pasmore for the map of Millersford Armaments Centre.
